Throughout the blog, I will be writing shader code mostly in Unity using the Unity specific .shaderlab files. I will not cover installation of Unity as there are already other resources which teach you how to do that. You can also use Unity Hub which makes it even easier to install and maintain different versions of Unity on your computer. In this blog post I will cover setting up the development environment necessary to author shaderlab files. When you first install Unity, it gives you the option to also install the Visual Studio Community Edition to write and debug your C# scripts and shaderlab files. I however prefer to use Visual Studio Code (or VSCode, also from Microsoft) instead as the default editor for authoring shaderlab files for the following reasons:
- It is lightweight and overall a good code editor.
- I use Unity mostly for shader authoring rather than C# game development, so it is optimal for my usecase. (Although you can use VSCode for full on C# scripting as well.)
- The various extensions available for VSCode make authoring and debugging of Unity shaderlab files much easier.
The instructions to install VSCode are available from Microsoft here: https://code.visualstudio.com/docs/other/unity . However, I will summarize them again here just in case. At the time of writing this blog post, I am running Unity 2019.3.7f1. Here are the steps to install Visual Studio Code for Unity.
- Download and install VSCode for the OS of your choice using the link: https://code.visualstudio.com/Download
- To be able to use VSCode with Unity also download and install the Microsoft.NET Core SDK from the link: https://dotnet.microsoft.com/download. Restart your computer.
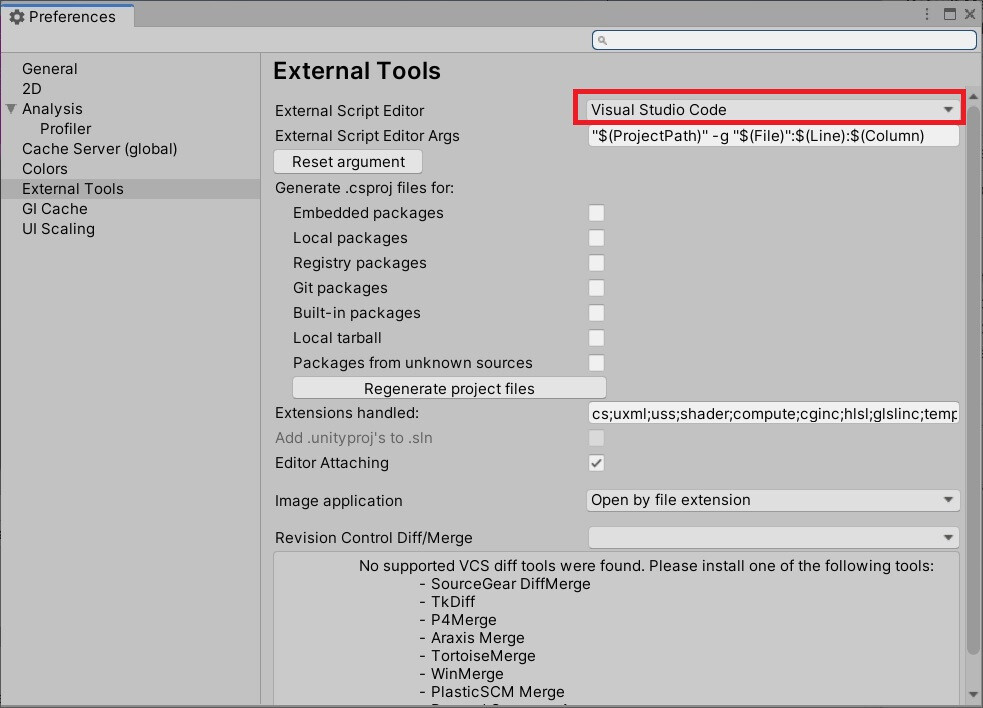
- In Unity under Edit > Preferences > External Tools, set Visual Studio Code as External Script Editor.
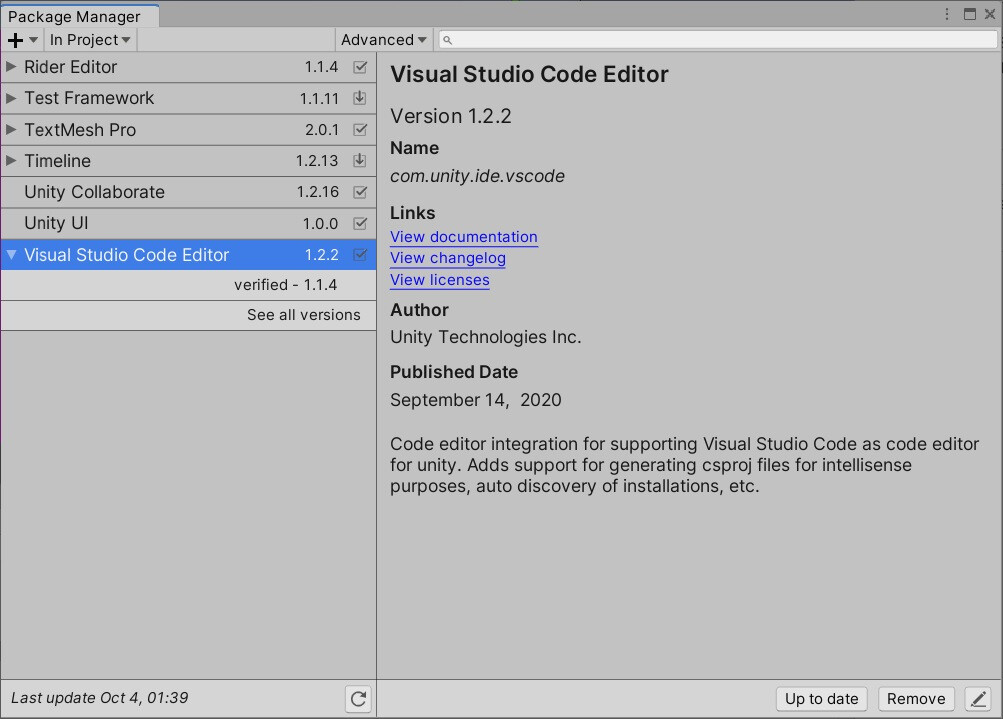
- Also in Unity, from Window > Package Manager search and install Visual Studio Code Editor package.
- Next in VSCode, click on the Extensions tab and install the follwing extensions to make authoring of shaderlab files easier:
- C# for Visual Studio Code (powered by OmniSharp)
- Debugger for Unity (By Unity Technologies)
- Shader languages support for VS Code (slevesque)
- ShaderLabFormatter (LiteFeel)
Finally, let’s create a simple shader to make sure everything works well. Add a new shader file in the Project view by right clicking and choosing Create > Shader > Standard Surface Shader. Double click the newly created shader file and the you should see the code with proper syntax highlighting.
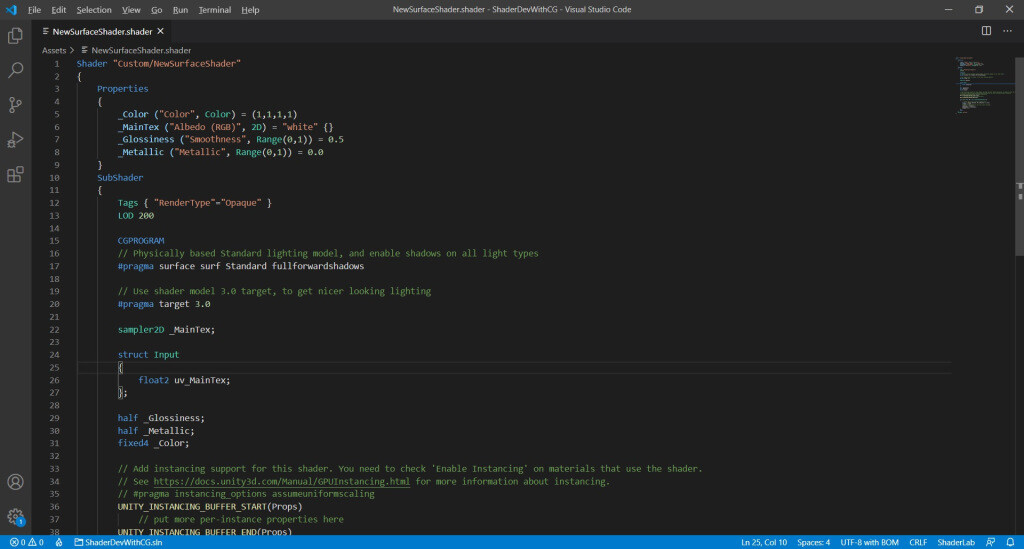
And you are done! You can now author shaderlab files in Unity using the VSCode editor with features like syntax highlighting and indentation.